Getting started
The gallery
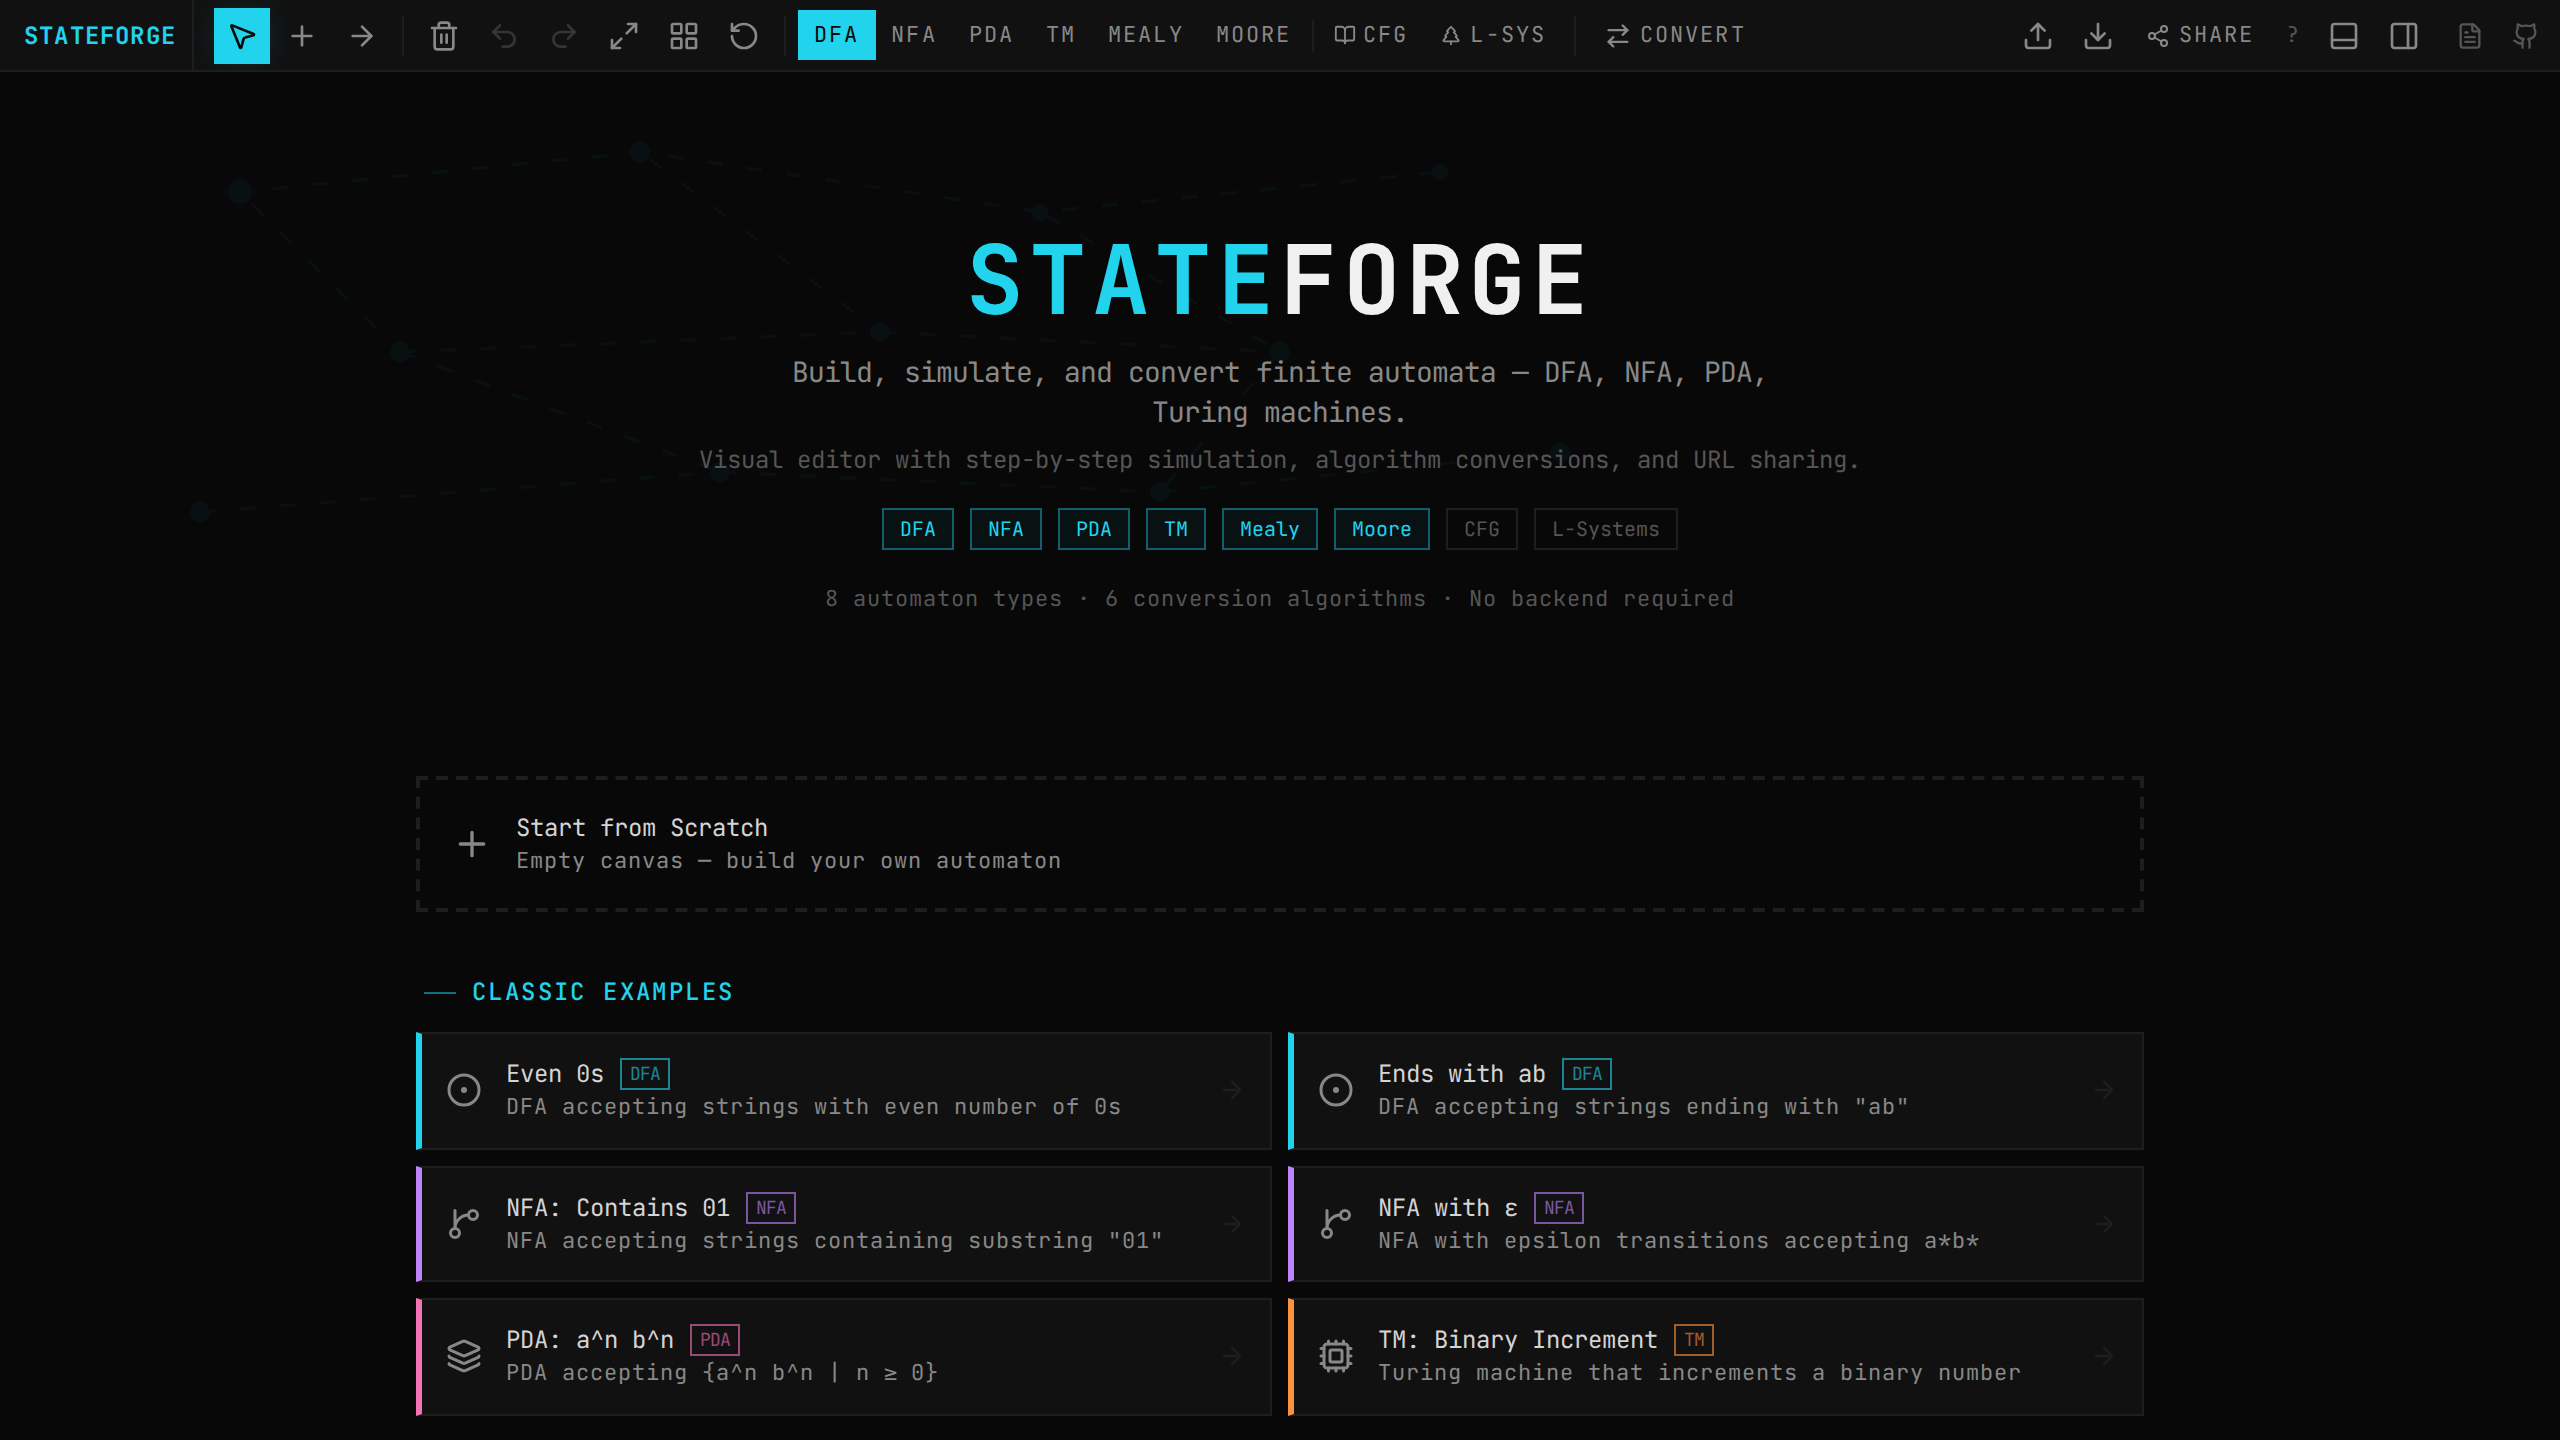
When you first visit StateForge, you'll see the Gallery, a collection of example automata organized by type. Click any example to load it onto the canvas, or click Start from Scratch to begin with an empty canvas.
Your automaton is automatically saved to localStorage and encoded into the URL hash on every change. You can share your work by simply copying the URL, no account needed.
Creating your first automaton
- →Double-click the canvas to add your first state (it's automatically labeled q0 and set as the initial state)
- →Double-click again to add more states (q1, q2, ... auto-numbered)
- →Press T to switch to the transition tool, then drag from one state to another
- →Edit the transition label in the popup that appears, typing symbols separated by commas
- →Right-click a state to toggle Initial or Accepting (on mobile, long-press)
- →Open the simulation panel with Ctrl+. and test your automaton with input strings
Tip: You can also press S to switch to the state tool and click anywhere to place states, or press V to go back to the pointer tool.
Interface layout
The interface has four main areas:
Toolbar (top)
Mode tabs (DFA, NFA, PDA, TM, Mealy, Moore, CFG, L-SYS), canvas tools (pointer, add state, add transition, delete), and action buttons (share, export, import, layout, convert, clear).
Switch modes with number keys: 1 DFA, 2 NFA, 3 PDA, 4 TM, 5 Mealy, 6 Moore, 7 CFG, 8 L-SYS.

Canvas (center)
The infinite SVG workspace where you build your automaton. Features:
→ Dot grid background (20px spacing) for visual alignment
→ Pan by holding Space and dragging, or middle-click drag
→ Zoom with scroll wheel or pinch gesture (0.25×–3× range)
→ Zoom to fit with ⌘+1 or the maximize button, auto-frames all states
→ Minimap appears automatically when you have 2 or more states, showing a bird's-eye view in the bottom-left corner. Click to navigate or drag the viewport rectangle.
→ Select states by clicking, shift-clicking for multi-select, or box-selecting by dragging on empty canvas
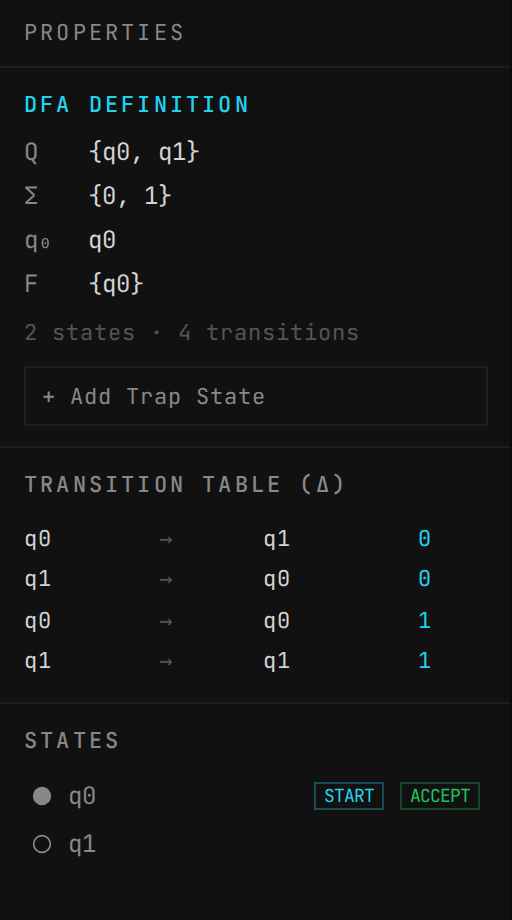
Properties sidebar (right)
Toggle with /. Shows:
→ Formal definition (Q, Σ, δ, q₀, F)
→ Transition table (δ)
→ State list with initial/accepting badges
→ DFA validation errors (if applicable)
→ Trap state generation button
Simulation panel (bottom)
Toggle with Ctrl+.. Two modes:
→ Single mode — Enter a string, step through or fast-run, see accept/reject result with input tape visualization
→ Multi mode — Batch test multiple strings at once, see pass/fail results for each

Saving and sharing
Auto-save: Your work is saved to localStorage every 500ms. When you return, it loads automatically.
URL sharing: The URL hash encodes your entire automaton. Copy the URL to share; anyone who opens it gets your exact automaton with all states, transitions, and positions.
Priority: URL hash > localStorage. If a shared URL is opened, it overrides any local save.
Export: Download as JSON, PNG (2x retina), SVG (standalone), or copy as LaTeX/TikZ. Import JFLAP .jff files.
Keyboard shortcuts
Press ? to see all keyboard shortcuts, or use ⌘K to open the command palette for quick access to any action. Key shortcuts:
| Shortcut | Action |
|---|---|
| ⌘K | Command palette |
| V | Pointer tool |
| S | Add State tool |
| T | Add Transition tool |
| D | Delete tool |
| ⌘Z | Undo |
| ⌘⇧Z | Redo |
| Del | Delete selected |
| ⌘A | Select all |
| ⌘1 | Zoom to fit |
| / | Toggle sidebar |
| ⌘. | Toggle simulation |
| ? | Show all shortcuts |